A bucket, a marker, and 24 quiet hours can settle the question every Keller pool owner asks in summer: evaporation, or a leak worth finding?
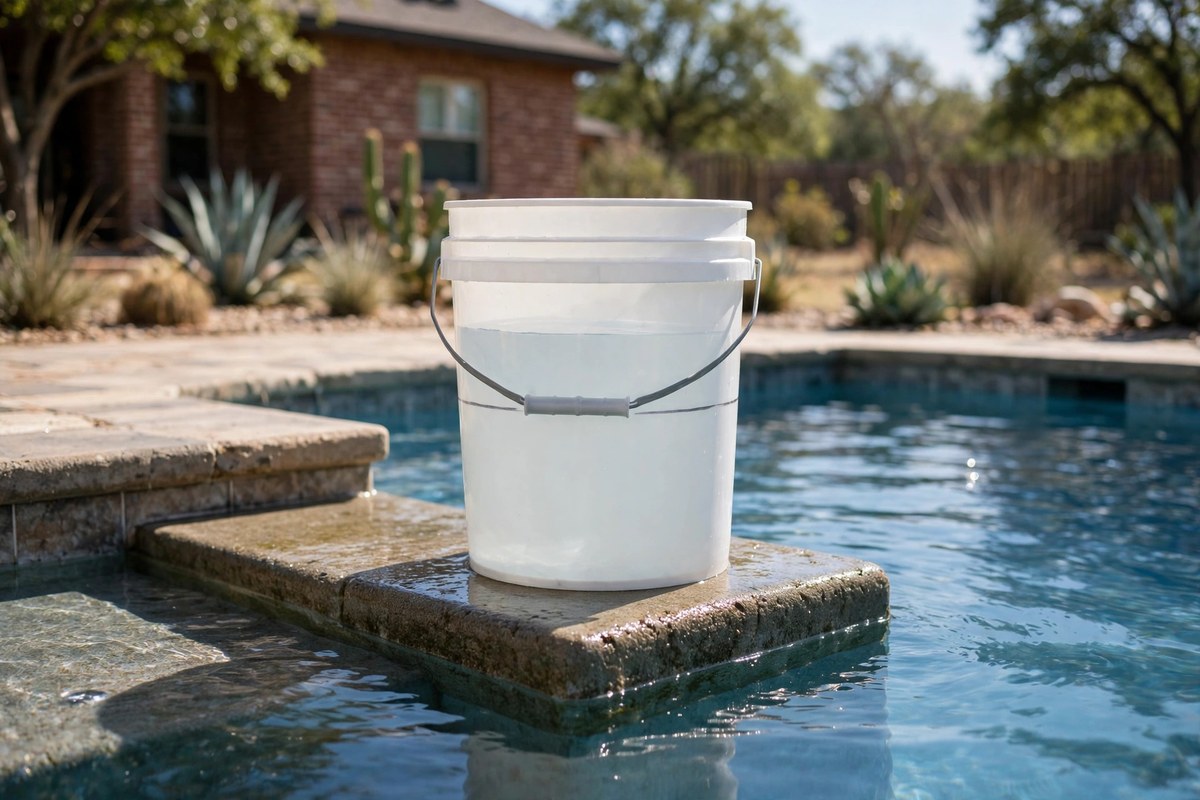
Every Keller pool owner who has watched the waterline creep down the tile has faced the same question: is this just Texas weather, or is something actually wrong? A bucket test answers exactly one question, and it answers it well — whether the pool is losing more water than evaporation alone can explain. It does not tell you where a leak is, how big it is, or what kind of repair it needs. Knowing that limit before you start is what makes the test useful instead of frustrating.
The idea is simple enough that it is easy to dismiss, but the logic is sound. A bucket of pool water sitting in the pool experiences the same sun, wind, and humidity as the pool itself, so it should evaporate at roughly the same rate. If the pool drops noticeably more than the bucket over the same 24 hours, the extra water went somewhere other than the air. That somewhere is a leak — in a fitting, a skimmer, a line, or the shell itself. If both drop by about the same amount, evaporation is doing the work and there is probably no leak to hunt.
That distinction matters more in Keller than in most places. North Texas summers are brutal on pool water: long stretches over 100 degrees, low humidity, and steady wind across an exposed backyard can take a quarter inch or more off the surface in a single day. At the same time, the expansive clay soil under Tarrant County moves with every wet-dry cycle, working on buried plumbing joints and skimmer seals year after year. So a Keller pool can plausibly lose water fast for a completely innocent reason, and can also develop a genuine leak that hides behind that same fast evaporation. The bucket test is the cheapest way to separate those two stories before you spend anything on detection.
Pick a calm, dry stretch of weather — no rain in the forecast, no big wind event, and no pool party planned. Swimming, splashing dogs, and cannonball contests all move water out of the pool in ways the bucket cannot match, so the test needs a quiet 24 hours with the pump on its normal schedule and the autofill, if you have one, switched off. An autofill left running will quietly top the pool up and hide the very loss you are trying to measure.
Measure both drops with a ruler, not by eye. A sixteenth of an inch is easy to misjudge against a tile line, and the whole test turns on a small difference. Write both numbers down — pool drop and bucket drop — along with the weather and whether the pump ran. That note is worth keeping, because if you end up calling for detection, it is the first thing a technician will want to know, and it tells them whether they are looking at a shell problem or a plumbing problem before they even unpack their equipment.
One detail people get wrong is where the bucket sits. It needs to be in the pool, not beside it on the deck. A bucket on hot concrete in full sun warms up and evaporates faster than the pool, which makes a real leak look like evaporation. A bucket in the shade while the pool is in full sun does the opposite. Sitting on a step, surrounded by pool water, the bucket shares the pool's temperature and wind exposure as closely as a simple test allows — which is why the step placement is not a fussy detail but the whole point.
If the pool and the bucket drop by about the same amount — within a sixteenth of an inch of each other — evaporation is your answer. That is the result most Keller pool owners should hope for, especially after a hot, windy week. It does not mean your pool never loses water; it means the loss you are seeing is weather, and topping up on hot days is normal maintenance rather than a symptom.
If the pool drops clearly more than the bucket — say the pool falls half an inch while the bucket falls an eighth — you have a leak, or at least a strong reason to act like you do. The bigger the gap, the more confident the verdict. A small gap, an eighth of an inch or so, is worth confirming with a second run on a calmer day before you commit to anything, because wind and a slightly warm bucket can each nudge the numbers. A gap that repeats on a second test is not a fluke; it is a leak finding its way out somewhere you cannot see.
Then there is the inconclusive result, which is more common than people admit. Rain during the test, a bucket that shifted or tipped, an autofill left on, a pump schedule that changed halfway through — any of these makes the numbers meaningless rather than merely noisy. That is not a failed test; it is a test that never happened. The right response is to rerun it cleanly, not to guess from bad numbers. In Keller, where a summer thunderstorm can dump an inch of rain in an afternoon and a November cold front can swing the temperature twenty degrees overnight, picking the right 24-hour window is half the skill.
The most common mistake is testing on the wrong day. A bucket test run over a holiday weekend, with kids in and out of the pool, tells you nothing except that splashing moves water. So does a test run the day after a backwash or a filter clean, when the system has been opened and the water level has been disturbed. Wait for an ordinary stretch — school days, work days, nobody swimming — and the numbers will actually mean something.
The second mistake is measuring sloppily. Marking the pool level with a mental note of which tile the water reached, then trying to remember it the next day, is not measuring. Tape on the skimmer faceplate, a pencil mark on the tile, a ruler the next morning — that is the whole discipline, and it takes about two minutes. The same goes for the bucket: a mark made with a pen that smudges in pool water is no mark at all. Painter's tape on the inside of the bucket, above the waterline, holds up fine for a day.
The third mistake is peculiar to Keller and to clay-soil country generally: forgetting that a pool can leak and evaporate at the same time. A bucket test that shows a small gap does not prove a small leak; it proves a leak exists on top of whatever evaporation is happening. A pool losing a quarter inch to evaporation and another quarter inch to a skimmer gasket will show a quarter-inch gap, which sounds minor until you realize the pool is dropping twice as fast as it should. That is why the comparison matters more than either number alone, and why a repeated small gap deserves the same attention as a dramatic one.
A positive bucket test is the starting point, not the finish line. The next step is narrowing down where the water is going, and the cheapest clues come from watching the level itself. If the pool always stops falling at the same point — just below a light, a step jet, or the skimmer mouth — the failed seal is almost certainly at that level, because water stops draining once it falls below the leak. If the level never stops falling, the leak is more likely in the underground plumbing or the main drain, which keep draining regardless of the surface level.
A second bucket test with the pump off for 24 hours sharpens the picture further. A pool that keeps losing water with the pump off is usually leaking through the shell or a fitting, while a pool that only loses water while the pump runs is more likely leaking on the pressure side of the plumbing. Keep the water level at least halfway up the skimmer mouth during any test, though — running a pump with the level too low can suck air into the system and cause damage that has nothing to do with the original leak.
That is also the point where a professional pool leak detection visit earns its keep. Pressure testing each line separately, dye testing suspect fittings, and listening for the sound of water escaping underground can pinpoint a break to within a few feet without tearing up the deck. If you have already done the bucket test, the pump on-versus-off comparison, and the level-watch, you have handed a technician a head start — and you have already ruled out the evaporation explanation that wastes so many first visits. For the full picture of what a falling waterline can mean before you test, our guide on a pool losing water with no visible leak walks through the usual hiding places, from skimmer throats to tired light-niche seals. And if the problem turns out to be on the house side rather than the pool — a supply line feeding an outdoor spigot, for instance — a water leak detection check can rule that out before pool work begins.
There are times when waiting 24 hours for a bucket test is the wrong call. If you can see the problem — a cracked skimmer throat, a deck slab that has sunk beside the pool, a soggy patch of ground that never dries, or water visibly running from the equipment pad — you do not need a test to tell you something is wrong. The same applies if the pool is losing water fast enough that the level could drop below the skimmer before the test finishes; in that case, top the pool up, keep the pump safe, and get help sooner rather than later.
A bucket test is also the wrong tool when the leak is plainly structural. A crack in a gunite shell that reappears after patching, a coping stone that rocks underfoot, or a deck section that has tilted away from the pool all point to movement in the ground behind the shell, and no bucket comparison will change that diagnosis. Those cases need a proper inspection, because patching the visible crack without addressing what is moving behind it just buys a season.
For everything else — the slow, unexplained drop, the waterline that creeps down week after week with no puddle anywhere — the bucket test is the right first move, and it costs nothing but a day of patience. Run it on a calm stretch, measure honestly, and write the numbers down. Whether the answer is evaporation or a genuine leak, you will be deciding from evidence instead of worry, and if you need help from there, the team behind our pool leak detection service can take the search from your backyard observations to a pinpointed repair. For a broader reminder of how small, hidden leaks add up across a home, the U.S. Environmental Protection Agency's Fix a Leak Week guidance is worth a read.
Twenty-four hours is the standard, and it is worth the full day. A shorter test exaggerates small measuring errors — a sixteenth of an inch looks huge when you multiply it out over a day. Start in the morning, mark both levels carefully, and do not check the result until the same time the next day. If the weather turns during the test — a heavy downpour, a dust storm, a day of unusually high wind — throw that run out and start again, because the conditions were not the same for the bucket and the pool in the way the test assumes.
Start with the pump on its normal schedule, because that is how your pool usually runs and it is the fairest comparison. If that first test points to a leak, a second test with the pump off for 24 hours can narrow things down further: a pool that keeps losing water with the pump off is usually leaking through the shell or a fitting, while a pool that only loses water while the pump runs is more likely leaking in the pressurized plumbing. Never run the pump with the water level below the skimmer mouth, though — if the level is already low, top it up first so the pump does not suck air.
Yes, and in some ways it works better, because evaporation slows right down in cool, humid weather and any gap between the bucket and the pool stands out more clearly. The test is less reliable on days when the pool is being heated, because warm water evaporates faster than the bucket water, and it is useless in rain, since rain adds water unevenly to the pool and the bucket. A calm, dry stretch in November or early spring is actually one of the best windows for a clean result in Keller, when the pool is quiet and the weather is settled.
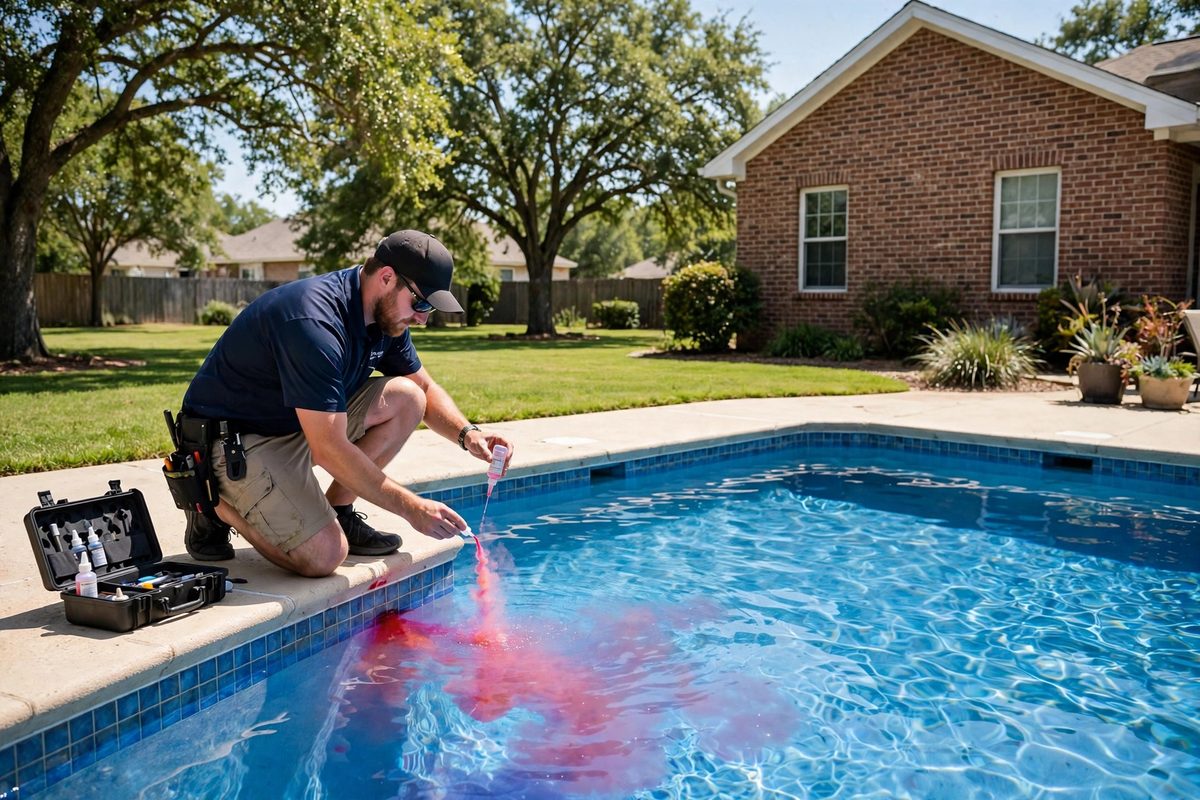
No puddle, no wet spot, but the waterline keeps dropping. In a Keller summer that could be evaporation — or a leak you cannot see yet. Here is how to tell the difference before it gets worse.
Read the guide →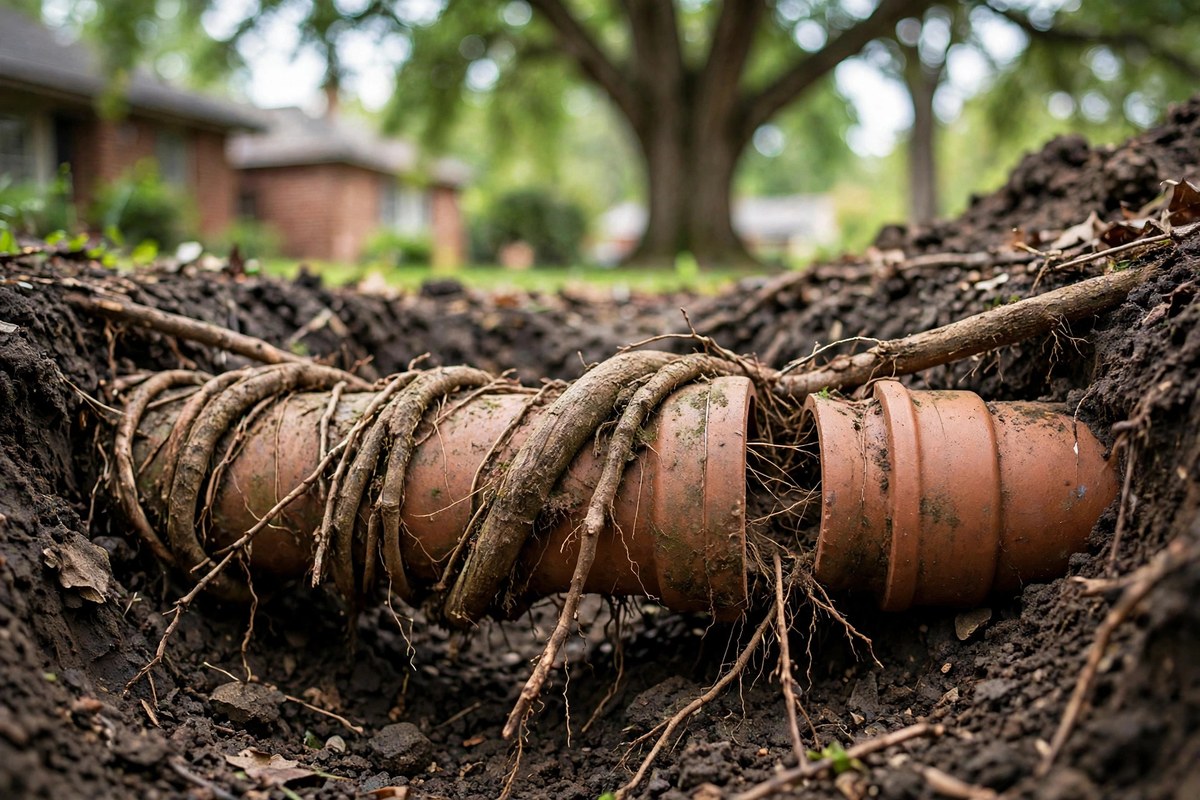
The tree in your front yard isn't trying to break your plumbing — it's just thirsty. But once its roots find a sewer line, the damage builds quietly until a drain backs up.
Read the guide →Fast response across Keller · Non-invasive equipment · Up-front explanation of your options
